How to Clean Return Vents Without Making a Mess
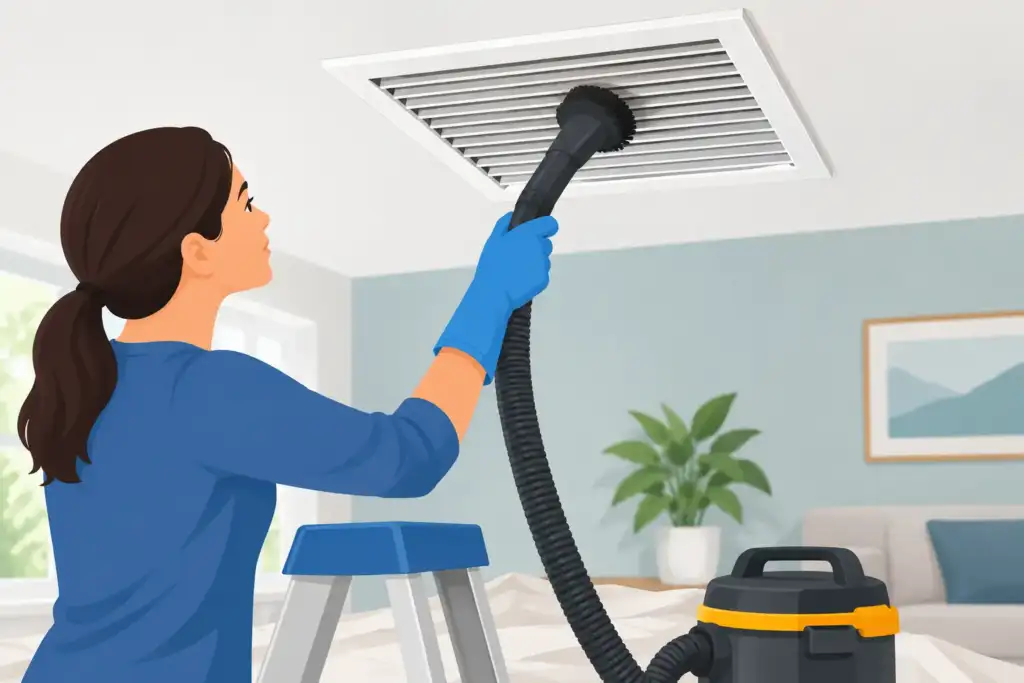
The gray film on a return grille is more than an eyesore. Return vents pull air from your living spaces back into the HVAC system, so the dust, pet hair, lint, and pollen sitting on them can be drawn toward the filter and ductwork. When you clean return vents regularly, you help your system receive air more freely and keep one of the most visible parts of your home’s ventilation system in better condition.
For homeowners in Northern Virginia, Washington, D.C., and Maryland, this simple task can make a noticeable difference during high-pollen seasons, after renovations, or whenever the heat or air conditioning runs frequently. The key is cleaning the grille carefully without pushing debris deeper into the system.
What Return Vents Do in Your Home
A return vent is the opening that brings indoor air back to your heating and cooling equipment. It may be a large grille on a wall, ceiling, or hallway floor. Unlike supply vents, which blow conditioned air into a room, return vents pull air away from the room.
That distinction matters. A dusty supply register can affect the air being delivered into a space, while a dirty return grille collects what is already circulating through the home. It is normal for some dust to appear there over time. Heavy buildup, however, can be a sign that cleaning has been delayed, the HVAC filter needs attention, or the home has an unusual amount of airborne debris.
Most homes have one main return vent and may have additional returns in bedrooms or larger living areas. Do not confuse a return vent with a cold-air return duct hidden behind the grille. You can safely clean the visible surface, but deeper duct cleaning calls for the right equipment and a careful process.
How to Clean Return Vents Safely
Cleaning a return grille is straightforward, but rushing the job can send dust into the duct opening or leave streaks on nearby walls. Plan to clean it when the HVAC system is off. This prevents the fan from pulling loosened debris into the system while you work.
Start by placing a towel or drop cloth beneath a wall vent. For a ceiling vent, use a stable step stool and have someone nearby if possible. Vacuum the grille first with a soft brush attachment. This removes loose dust before you touch it with a cloth, which helps prevent the dust from falling into the opening.
Next, wipe the grille with a microfiber cloth that is lightly dampened with warm water and a small amount of mild dish soap. The cloth should not be dripping wet. Excess water can run behind the grille, mark drywall, or introduce moisture where it does not belong. For greasy buildup near kitchens or laundry areas, a second gentle wipe may be needed.
If the grille is removable, carefully loosen the screws while holding it in place. Wash the grille in a sink or tub with warm, soapy water, then dry it completely before reinstalling it. Take a quick photo before removal if you are concerned about the grille’s orientation or screw placement.
Avoid spraying cleaner directly into the vent, using abrasive scrub pads, or reaching deep into the duct with a household vacuum hose. These methods can damage finishes, scratch painted metal, or push loose material farther down the duct. The goal is a clean grille and a tidy opening, not an improvised duct-cleaning project.
Check the HVAC Filter at the Same Time
A dirty return vent and a loaded HVAC filter often go together. The filter is designed to capture particles before they reach sensitive HVAC components, but it needs regular replacement to do its job well.
Check the manufacturer’s recommended schedule for your specific filter. Many households replace standard filters every one to three months, though homes with pets, allergy concerns, frequent construction dust, or heavy system use may need more frequent changes. A filter that looks gray and packed with debris should not be left in place just because the calendar says it has more time.
Make sure the replacement filter is installed in the correct direction. The airflow arrow should point toward the equipment, not toward the return grille. If you are unsure, ask an HVAC professional rather than guessing.
How Often Should You Clean Return Vents?
For most homes, wiping or vacuuming return grilles every one to three months is a practical routine. You may want to clean them more often during spring pollen, after a home improvement project, or if pets shed heavily. A quick check when you change the HVAC filter is an easy way to stay on schedule.
The right frequency depends on your household. A quiet home with no pets and good filtration may show very little buildup for months. A busy family home near a construction area may collect visible dust much faster. Focus on what you see and on how the system is performing rather than following a rigid schedule that does not fit your home.
Signs the Problem May Be Beyond the Grille
A dusty return grille alone does not automatically mean your air ducts need professional cleaning. Dust naturally settles on surfaces, and return vents are working openings. But certain conditions deserve a closer look.
Pay attention if dust returns almost immediately after cleaning, rooms have persistent stale odors, airflow seems weaker than usual, or you see debris inside the duct opening beyond the grille. Recent remodeling, water damage, pest activity, or a system that has gone years without maintenance can also justify a professional evaluation.
Allergy symptoms are another reason to look at the bigger picture, though they do not prove that ducts are the cause. Indoor air quality can be affected by outdoor pollen, carpeting, pets, humidity, filters, cleaning products, and ventilation habits. A qualified technician can help separate a routine surface-cleaning need from a deeper system concern.
Professional air duct cleaning is especially useful when technicians can show you what they found and explain the work clearly. Before-and-after photos or video documentation give homeowners a practical way to see the results instead of relying on vague claims.
Keep Return Vents Clear Between Cleanings
The space around a return vent matters as much as the grille itself. Furniture, curtains, storage bins, and rugs should not block the opening. When a return cannot draw air easily, your HVAC system may have to work harder to circulate conditioned air through the home.
Try to leave several inches of clear space around wall and floor returns. If a return vent is in a high-traffic area, vacuum nearby flooring regularly to reduce the hair and debris that can gather along its edges. For ceiling returns, look for dust streaks on the grille during normal cleaning and address them before they become thick buildup.
It also helps to control dust at the source. Use kitchen and bathroom exhaust fans, keep windows closed on very high-pollen days when practical, and vacuum with a well-maintained machine. These habits will not eliminate dust, but they can reduce what your HVAC system has to handle.
When Professional Cleaning Makes Sense
Surface cleaning is a worthwhile homeowner task. It keeps return grilles looking better and supports regular HVAC upkeep. However, cleaning inside return ducts, main trunk lines, and other parts of the system requires specialized tools designed to remove debris without scattering it through the home.
Delight Home Air Cleaning provides professional air duct cleaning for homeowners who want a cleaner, better-maintained ventilation system and visible proof of the work completed. For homes in Fairfax, Arlington, Alexandria, Chantilly, and nearby communities, professional service can be a sensible next step after renovations, long periods of deferred maintenance, or when visible buildup points to a deeper issue.
A clean return vent is a small detail that supports a cleaner home. Make it part of your filter-change routine, keep the area around it open, and ask for professional help when the dust you can see suggests there may be more inside the system.
2 thoughts on “How to Clean Return Vents Without Making a Mess”
Comments are closed.